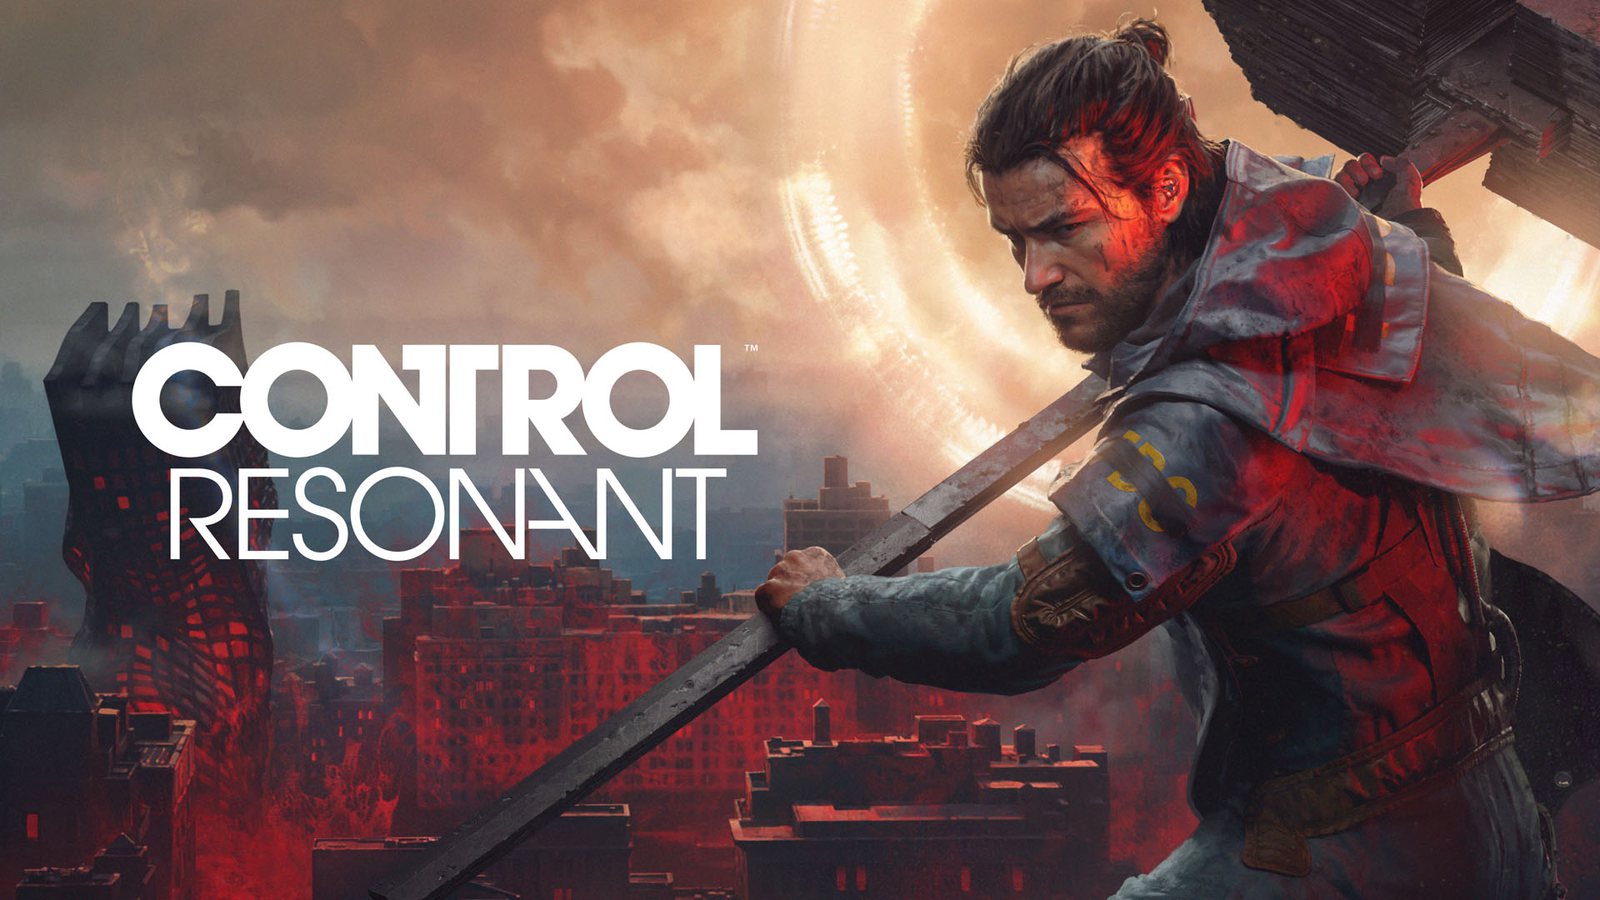
Complete Control Resonant Walkthrough: Master Every Mission
Master Manhattan with our Control Resonant walkthrough. Find every mission, boss strategy, and secret ability to help Dylan Faden find his sister, Jesse.
Published:
Table of Contents
Seven years have passed since the Hiss first invaded the Oldest House, and the supernatural containment breach has finally spilled into the streets of Manhattan. In Remedy Entertainment’s latest expansion of the Remedy Connected Universe, players step into the shoes of Dylan Faden, Jesse’s brother, who must navigate a twisted, dreamlike New York City. This comprehensive Control Resonant walkthrough is designed to guide you through the chaotic streets, from the initial "Wake Up" prologue to the final confrontation at the Hedron Link. As the Hiss turns the city into an Inception-like landscape, understanding the new mechanics—like the Resonant Cycle and Dylan’s unique Aberrant weapon—is essential for survival.
Whether you are a veteran of the Federal Bureau of Control or a newcomer to this reality-bending franchise, this Control Resonant walkthrough provides the tactical depth needed to locate the missing Director Jesse Faden. The game introduces a non-linear mission structure where your choices in exploration directly impact your traversal abilities. By following this guide, you will learn how to unlock the map efficiently, maximize your Aberrant Strength, and navigate the complex web of main story missions and side investigations that define this hauntingly beautiful open-world experience.
Getting Started: The First Steps in Manhattan
Once you complete the prologue and step out of the Oldest House, the sheer scale of the Manhattan AWE (Altered World Event) can be overwhelming. Unlike the original game’s shifting corridors, Control Resonant features a semi-open world where verticality and orientation are your biggest hurdles. The first priority for any player should be stabilizing the local reality by interacting with the environment.
Unlocking the Map and Pylons
The map in Control Resonant does not reveal itself automatically. Each zone is governed by a central pylon that acts as a beacon of stability. However, you cannot simply walk up and turn it on. You must first locate three satellite dishes scattered around the pylon's vicinity. Activating these dishes "tethers" the pylon, allowing you to claim the area.
Automatic Map Markers
Once a central pylon is active, the game will automatically place markers on your map for areas you cannot yet access. This is vital for backtracking once you unlock new traversal powers like wall-walking.
The Vendor System (Ice Cream Trucks)
In a strange twist of suburban horror, the primary vendors in Manhattan are abandoned ice cream trucks. These mobile shops are your lifeline for character progression. They sell materials for skill tree upgrades, artifact unlocks, and even respec items if you wish to rebuild Dylan’s combat style. According to community reports, finding these early in a new zone is the most efficient way to boost your "Aberrant Strength" before tackling the local Resonant boss.
Action
Purpose
Reward/Benefit
Activate Satellite Dishes
Unlocks Central Pylon
Full map visibility for the zone
Visit Ice Cream Trucks
Purchase Materials
Skill Tree & Artifact upgrades
Defeat Local Enemies
Clear Zone Level
Stacking damage bonuses
Find Hidden Doors
Exploration
Secret chests and FBC hideouts
The Gap: Dylan’s Pocket Dimension
By holding down on the D-pad, Dylan can transition to "The Gap," a pocket dimension where he communicates with the Board. This serves as your central hub for all mechanical upgrades. Navigating the Gap can be confusing because the objects are not explicitly labeled, appearing as abstract stone formations.
Artifact Crafting (Left Stairs): Artifacts are passive accessories. Even if you find an artifact in the world, you must return here to "manifest" it before it can be equipped.
Power Selection (Large Slab): As you defeat Resonants, new drawings appear on this slab. You can equip one power of each type here.
Aberrant Upgrades (Sword Stone): This is where you upgrade Dylan’s transforming weapon. Increasing your Aberrant Strength here raises your global damage multiplier.
Talent Tree (Small Rocks): Spend talent points earned from increasing your Zone Level.
The Arena: A safe space to test your current build against a Hiss dummy.
Main Story Walkthrough: Contain the Crisis
The core narrative of Control Resonant is divided into three primary questlines: Contain the Crisis, Search for Jesse, and Defeating Resonants. To progress the main story, you will frequently need to jump between these categories to unlock the necessary abilities or clear boss-gated paths.
Essential Mission List
The following table outlines the primary missions within the Contain the Crisis arc. Note that some missions require specific traversal powers unlocked via the Search for Jesse missions.
Mission Name
Primary Zone
Key Objective
Wake Up
Oldest House
Escape the prologue and enter Manhattan
Orientation
Downtown
Meet Arish and establish a base of operations
Welcome to Manhattan
Downtown
Activate the first pylon and locate a vendor
Evacuation Procedures
Evacuation Zone
Clear Hiss clusters to rescue FBC survivors
Arish's Briefing
Central
Receive the tactical plan for the Resonant entities
Power Lines
Central
Restore power to the FBC security grid
Into the Sinkhole
Central
Investigate the massive AWE at the city center
The Hedron Link
The Unknown
Align the final frequency to locate the Director
The Search for Jesse and Ability Unlocks
If you find yourself stuck at a high wall or a bottomless pit, you likely need to progress the Search for Jesse questline. These missions are not just narrative fluff; they are the primary source of Dylan’s parautilitarian growth. For instance, finding Jesse’s trail in the West Incursion Zone leads to the "Gravity Power," which allows Dylan to walk on walls. This is a game-changer for exploration and is required to reach the Underpass zone.
Combat Strategies and the Resonant Cycle
Combat in Control Resonant is more aggressive than its predecessor. Dylan’s Aberrant weapon relies on "Aberrant Strength," a stat that grows with every upgrade you purchase. Players should aim to reach Aberrant Strength 15 as quickly as possible to unlock Combo Finishers, which provide massive AOE (Area of Effect) damage at the end of a standard three-hit melee string.
Understanding the Resonant Cycle
One of the most unique mechanics discussed in our Control Resonant walkthrough is the Resonant Cycle. When you defeat a major zone boss (a Resonant), several things happen:
All enemies in the open world respawn.
The level of all enemies increases globally.
The quality of material drops improves.
New, more dangerous Hiss variants begin to patrol previously "safe" areas.
This creates a "high risk, high reward" loop. While the world becomes more dangerous, the materials dropped by higher-level enemies are necessary for the final tiers of the talent tree. Community members often suggest clearing all side quests in a zone before killing the Resonant boss if you are struggling with the current difficulty, as the jump in enemy power can be significant.
Don't Ignore Vending Machines
Throughout Manhattan, you will find suspicious-looking vending machines. Attacking these often rewards you with "Source" (currency) and occasionally a Reset Point. They are effectively the game's "loot piñatas."
Exploration and Side Investigations
Manhattan is filled with environmental puzzles that reward players with permanent stat boosts. For example, near the Oldest House, there is a diner where you must activate appliances in a specific order (smallest to largest) to open a secret FBC hideout. These small interactions are crucial for building Dylan’s power outside of the main quest rewards.
Side Quest Highlights
Every Dog Has Her Day: Located southwest of the Oldest House. It involves a multi-stage rooftop search for a dog toy. While it seems trivial, completing the full chain rewards you with a unique cosmetic and high-tier upgrade materials.
Pope's Research: This quest is mandatory if you wish to enter "The Unknown" zone late in the game. Make sure to check in with Emily Pope at the Central hub frequently.
Crossing the Threshold: A mystery involving haunted taxis that transport citizens to a different dimension. This quest provides excellent lore regarding the current state of the FBC.
For more official details on the game's mechanics and world-building, you can visit the official Control Resonant Steam page, which details the developer's vision for this expanded universe.
Advanced Build Synergy
As you progress through your Control Resonant walkthrough, you will notice that different enemies have specific resistances. Using the Gap's Arena to test your build is highly recommended. A balanced build typically includes:
A High-Impact Power: For breaking Hiss shields.
A Crowd Control Power: Such as the Gravity Lift or Resonant Pulse.
Synergistic Artifacts: If you use a lot of melee, equip artifacts that restore health on Aberrant hits.
Build Type
Recommended Power
Recommended Artifact
Playstyle
The Tank
Kinetic Shield
Dense Matter Fragment
Close-quarters, high defense
The Ghost
Gravity Walk
Ethereal Coil
High mobility, wall-based combat
The Blaster
Resonant Blast
Frequency Amplifier
AOE focused, mid-range
Frequently Asked Questions
How do I unlock the wall-walking ability in Control Resonant?
To unlock wall-walking (Gravity Power), you must follow the "Search for Jesse" questline to the West Incursion Zone. After completing the "Jesse Sightings: The Incursion Fault" mission, you will gain the ability to traverse vertical surfaces, which is essential for completing the Control Resonant walkthrough and reaching hidden chests.
What is the best way to increase Aberrant Strength?
Aberrant Strength is increased by purchasing upgrades for your weapon forms at the Sword Stone in The Gap. Additionally, unlocking new weapon forms entirely provides a significant boost to your overall strength. Community players recommend focusing on one primary form first to unlock its Combo Finisher before diversifying.
Do enemies respawn in Control Resonant?
Enemies in the open world do not respawn through traditional means like resting. Instead, they respawn when you defeat a Resonant boss, which triggers a "Resonant Cycle." This cycle resets the world's enemies while simultaneously increasing their level and the quality of the loot they drop.
Where can I find the dog toy for the side quest?
In the "Every Dog Has Her Day" side quest located southwest of the Oldest House, the dog toy is located just one rooftop hop away from where you first encounter the dog. Bringing it back moves the dog to a new location, continuing a quest chain that eventually leads to a significant reward.
By utilizing this Control Resonant walkthrough, players can navigate the complexities of Remedy's Manhattan with confidence. Remember to explore every barred door, hit every vending machine, and always return to The Gap to manifest your findings. The path to finding Jesse Faden is fraught with Hiss-distorted reality, but with the right upgrades and a clear mission path, Dylan Faden can reclaim the city.