Control Resonant Key Guide: Maximize Your Early Game Build
Discover how to optimize your build with a Control Resonant key. Master the combat loop, unlock essential abilities, and dominate in Remedy's latest adventure.
Published:
Table of Contents
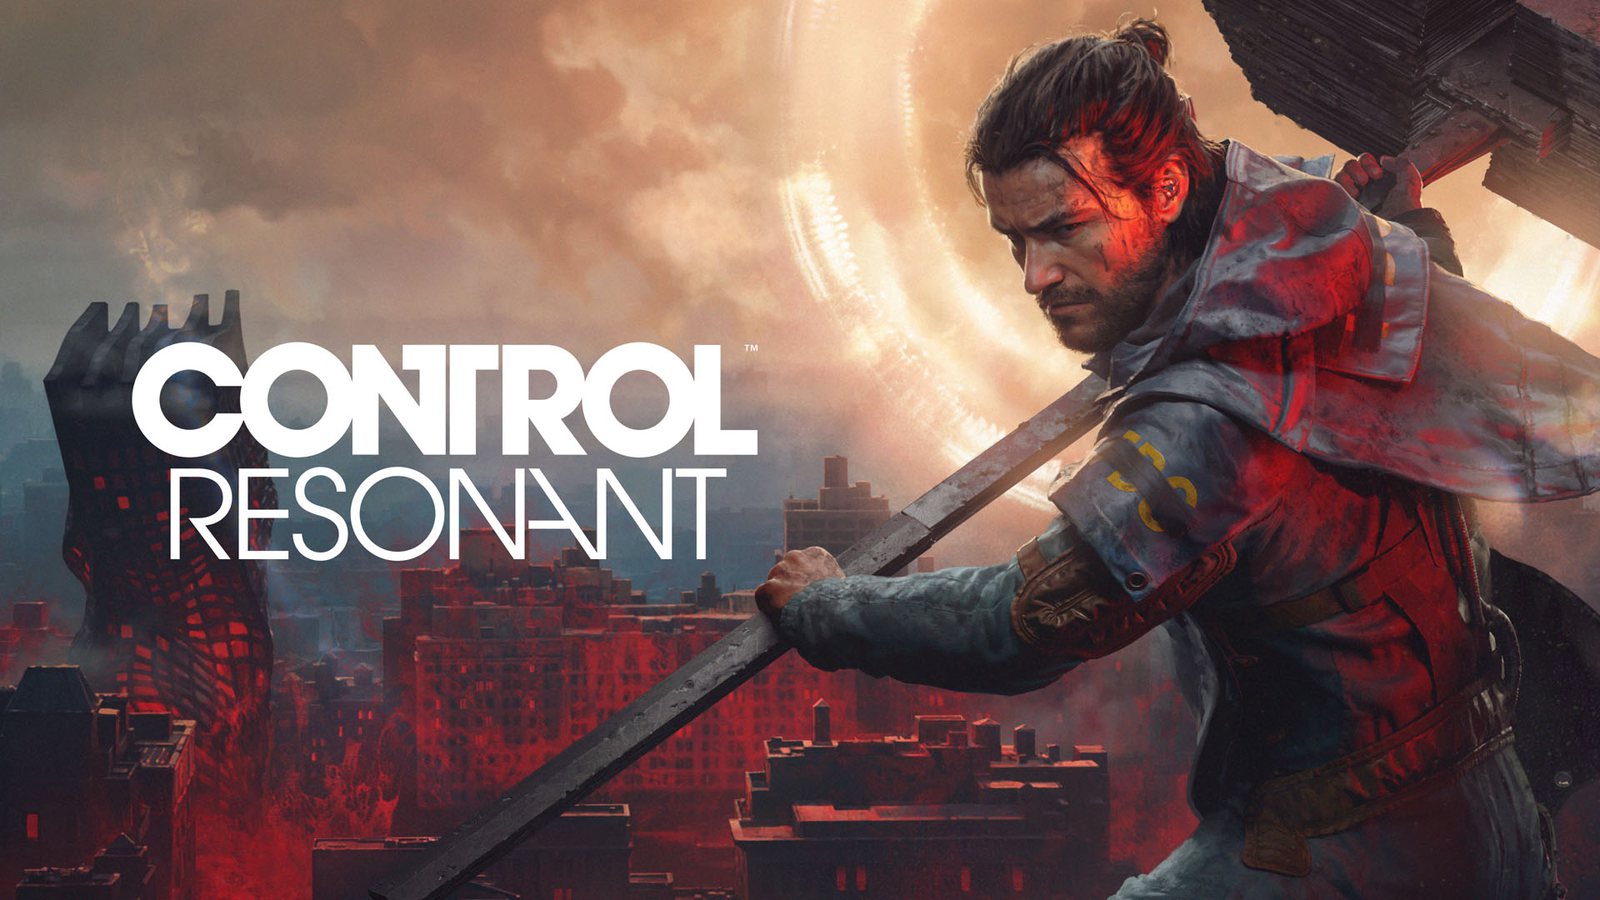
The wait is finally over for fans of the FBC universe, and mastering the early game in Remedy Entertainment’s latest title is no small feat. Securing a Control Resonant key is only your first step into a warped, paranatural Manhattan where survival depends entirely on how well you adapt to the chaos.
Whether you are a seasoned veteran of the Oldest House or a newcomer to this surreal world, understanding the intricacies of progression is vital. This guide breaks down the essential tactics, build optimizations, and expert tips you need to ensure your journey as Dylan Faden is as smooth—and satisfying—as possible.
Understanding Your Power Level and Progression
In Control Resonant, your progression isn't just about unlocking new skills; it's about maintaining a competitive edge against the Hiss and other threats. One of the most common pitfalls for new players is ignoring their power level. If you find yourself hitting a wall, check your loadout screen—if enemies display a skull icon, you are significantly under-leveled for that zone.
You can visit the "Gap" at any time by pressing the designated button (Down on D-pad or G on keyboard). This serves as your central hub for growth. Don't hoard your talent points or resources; upgrading your health and abilities regularly is the only way to tackle tougher encounters effectively.
Progression Metric
Significance
Action Required
Power Level
Determines viability in zones
Update talents/weapon forms at the Gap
Falter Bar
Staggers enemies for executions
Use specific combo finishers/abilities
Dominance
Boosts damage and healing drops
Execute enemies to trigger 8s buff
Vaults
Unlocks traversal movement
Find Jesse's projections in the world
The "Falter Dominance" Combat Loop
Combat in Control Resonant favors the bold. The game’s design encourages an aggressive playstyle where offense is your primary form of defense. Mastering the "Falter Dominance" loop is the single most important skill you can learn early on.
The loop is simple in theory but requires practice:
Build Falter: Use your secondary weapon forms (like the Crush hammer) or heavy attacks to deplete the enemy's yellow falter bar.
Execute: Once staggered, perform an instant execution to trigger the "Dominance" state.
Healing: While Dominance is active (for 8 seconds), prioritize killing smaller enemies to generate the health elements you need to stay in the fight.
Efficient Healing
Remember that killing enemies is your primary source of healing. Do not wait until your health is critical to initiate the Falter Dominance loop; use the smaller enemies as your personal "healing snacks" throughout the battle.
Best Early Game Loadout Recommendations
Your build choices matter immensely, especially since you cannot unlock everything in a single playthrough. When you obtain your first Control Resonant key and dive in, you will face critical choices right after your first boss encounter. Based on community reports and initial testing, here is a highly effective early-game setup.
Recommended Starter Build
Primary Weapon: Glaive (Excellent reach and power generation).
Secondary Weapon: Crush (Best for breaking armor and building falter).
Combo Finisher: Uppercut Surge (Essential for aerial control and falter buildup).
Combat Ability: Volatile Anomaly (High damage and crowd control).
While many players might gravitate toward the Shield ability, community veterans argue that Volatile Anomaly offers superior tactical utility. By summoning the anomaly and timing its explosion, you can hit multiple targets for massive falter damage. Always keep an eye on your power bar; if it turns red, you are locked out of abilities until it recharges to at least 50%.
Navigating Manhattan and Exploring Dimensional Faults
Exploration in Control Resonant is non-linear and rewarding. You will frequently encounter warp points or distortion zones. If you see a psychedelic projection of Jesse Faden, stop and investigate. These are markers for "Faults," which are crucial for unlocking new movement mechanics, such as shifting or improved aerial traversal.
Make it a priority to unlock the map for each zone as soon as you arrive. Look for the map kit antenna towers. Once activated, you can identify nearby "vendors"—the eerie ice cream trucks that serve as your shop for upgrade materials and essential items.
Essential Gameplay Tips for Success
The Power of the Hammer: According to early player experience, starting with the Hammer as your secondary form makes obstacle removal significantly easier, allowing you to smash through barriers without needing to backtrack later.
Reporting Lore: Always use the report function when it pops up, even during combat. It reveals story beats and sometimes triggers new, essential side quests.
Manage Your Resources: Reset items are rare. While you can swap skills at the Gap, changing your primary and secondary forms costs precious resources. Choose your initial playstyle wisely.
Dodge with Purpose: The perfect dodge talent is a game-changer. It creates a brief slow-mo window and provides a temporary 50% boost to your damage and falter buildup, turning a defensive move into a lethal counter-attack.
Frequently Asked Questions (FAQ)
Is a Control Resonant key required for all platforms?
Yes, a valid Control Resonant key is required to activate and download the game on your preferred platform, such as Steam. Always purchase from reputable retailers to ensure your code is official and supported. You can check the official Remedy Entertainment website for verified links.
How do I increase my Power Level efficiently?
You increase your power level by consistently unlocking new weapon forms, upgrading your base stats at the Gap, and spending talent points. Do not sit on resources; if you are struggling, you likely have enough materials to make yourself stronger.
Can I reset my skill choices later?
Yes, you can reset your choices, but it requires a "Reset Item." These are somewhat rare, found through mission rewards or purchased at expensive prices from vendors, so try to finalize your build strategy early.
What should I do if I see a skull icon next to an enemy?
The skull icon indicates that the enemy is a significantly higher level than Dylan. This is a clear signal to leave the area and return once you have completed more side activities or improved your gear elsewhere.